Creating an outdoor kitchen transforms your backyard into an entertainment paradise and extends your living space beyond four walls. However, the journey from concept to reality is filled with potential pitfalls that can turn your dream space into a costly nightmare. Poor planning and hasty decisions lead to functionality issues, budget overruns, and design regrets that diminish your enjoyment for years to come.
The outdoor kitchen market has exploded in recent years, with homeowners investing significantly in these alfresco cooking zones. Yet many projects fall short of expectations due to preventable mistakes during the design and installation phases. Understanding common errors helps you sidestep expensive fixes and create a space that truly enhances your outdoor lifestyle. This comprehensive guide explores eight critical mistakes that even experienced homeowners make when designing outdoor kitchens, along with practical solutions to ensure your project succeeds.
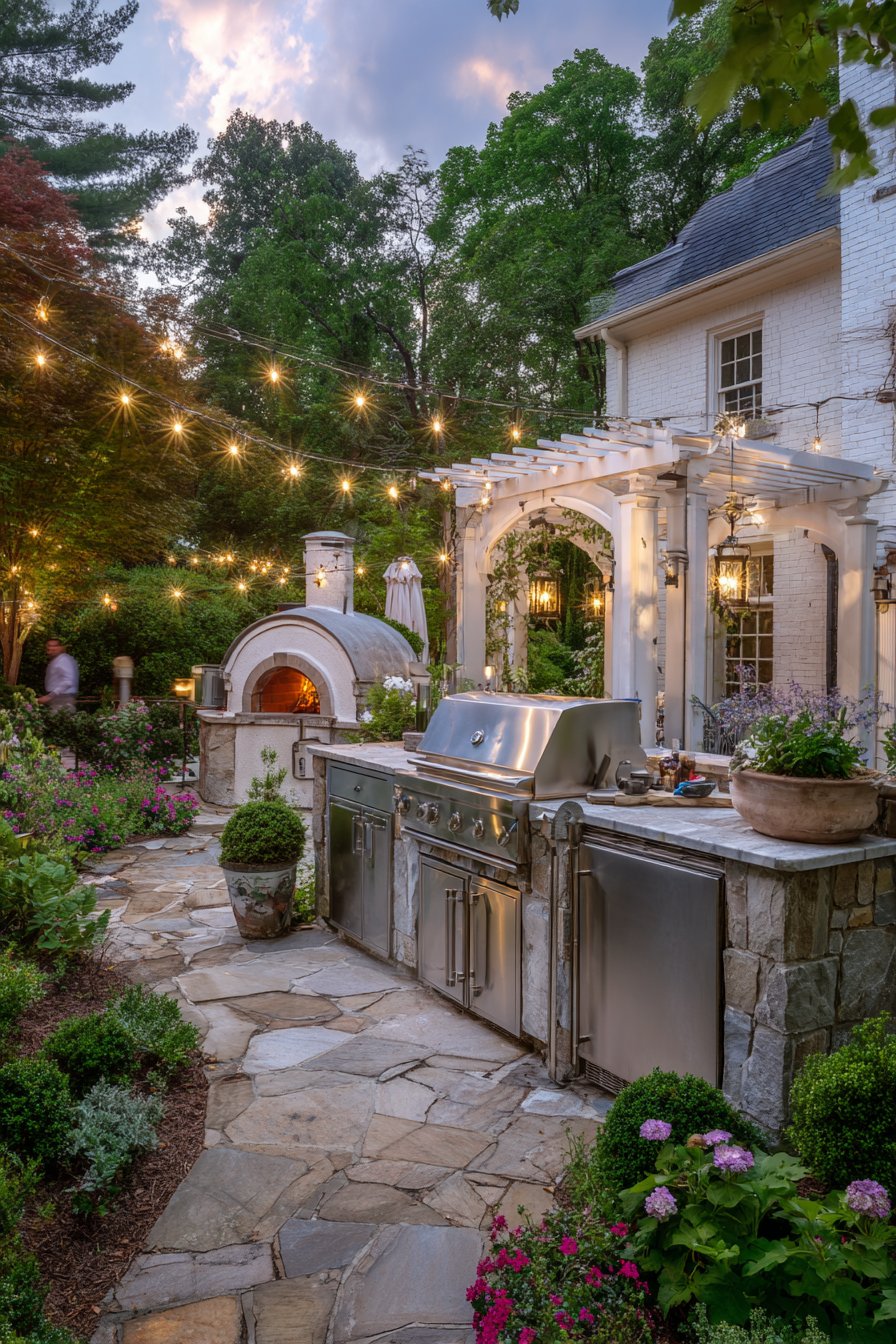
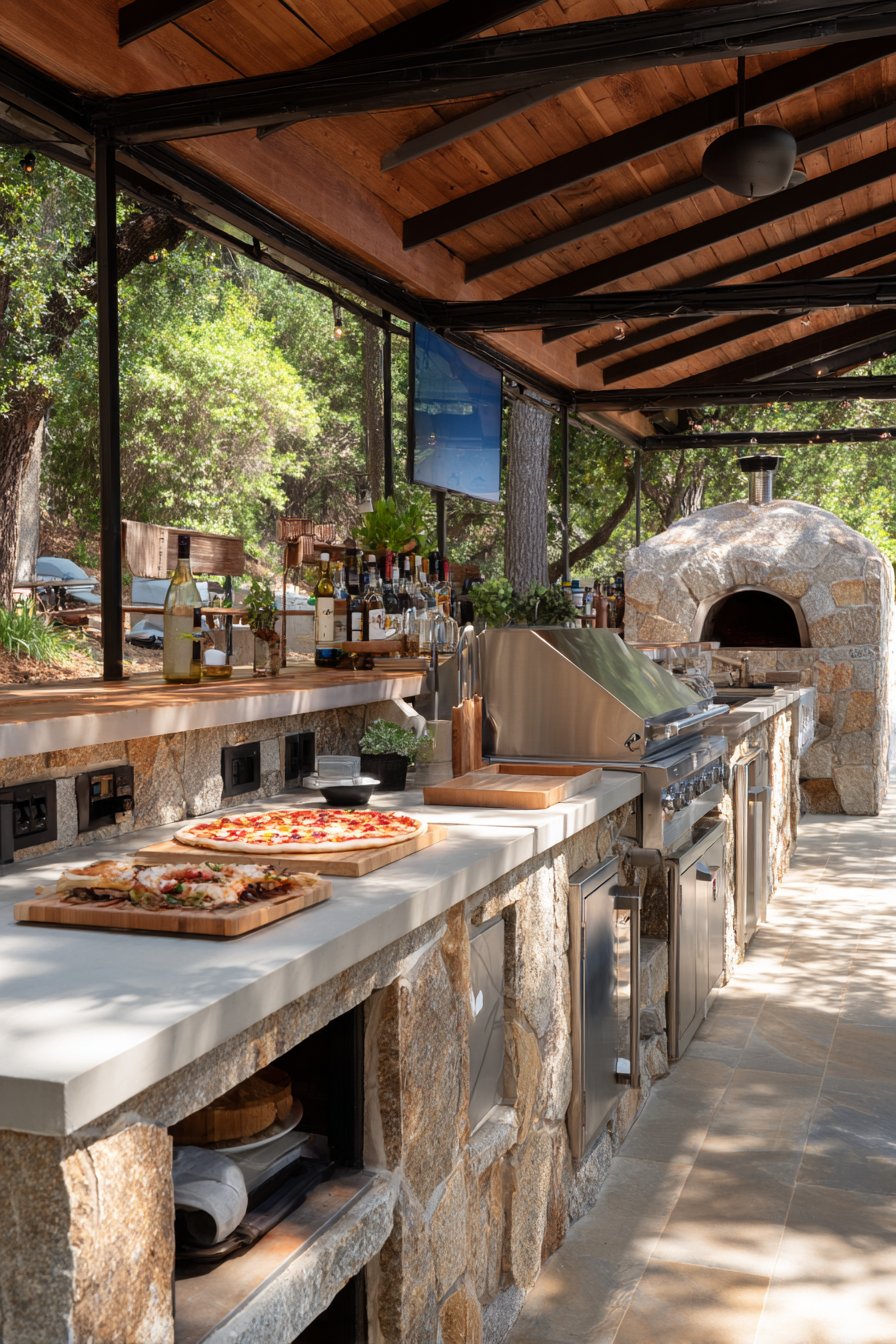
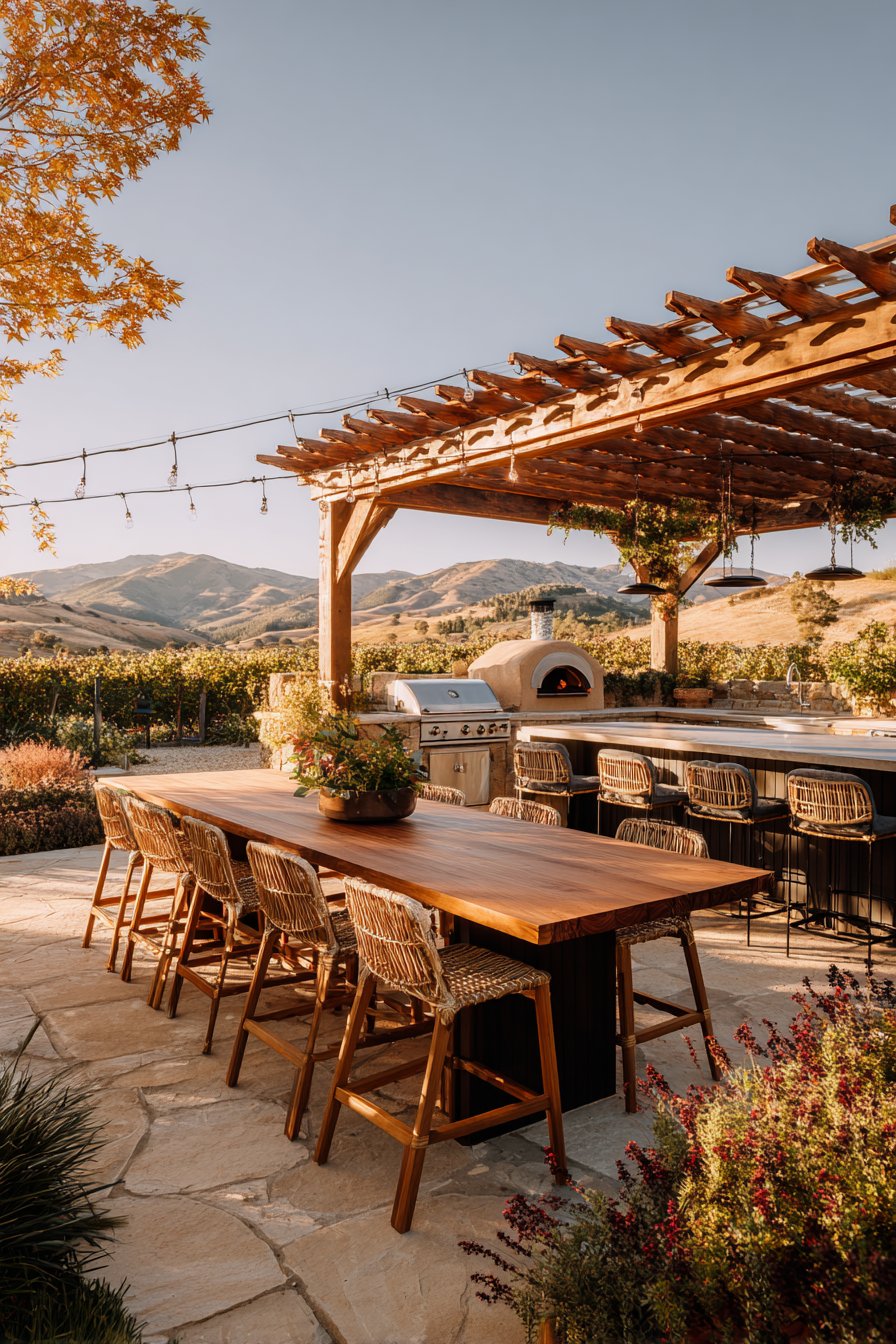
Whether you’re planning a simple grill station or an elaborate culinary hub complete with pizza ovens and refrigeration, avoiding these design mistakes will save you time, money, and frustration. Let’s dive into the most common outdoor kitchen pitfalls and how to navigate around them with confidence and strategic planning.
1. Ignoring Your Climate and Weather Patterns
One of the most fundamental mistakes homeowners make is failing to design for their specific climate conditions. Your outdoor kitchen must withstand local weather extremes, from scorching summers to freezing winters, or it will deteriorate rapidly. Materials that work beautifully in mild coastal climates may crack, fade, or warp in regions with dramatic temperature swings.

Consider how wind patterns affect your cooking experience and smoke management. A grill positioned in a windy corridor creates uneven cooking temperatures and sends smoke directly into seating areas or your home. Rain exposure without proper drainage leads to standing water, mold growth, and premature material breakdown that compromises both safety and aesthetics.

Your climate dictates essential features like overhead coverage, heating elements, and material selections. Regions with intense sun require UV-resistant finishes and shade structures to prevent material degradation. Cold climates demand weatherproof storage and possibly insulated cabinets to protect appliances during winter months.
- Install appropriate overhead structures like pergolas or solid roofs based on rainfall patterns
- Choose materials rated for your temperature range and UV exposure levels
- Plan for proper drainage with slight floor slopes and quality gutter systems
- Consider seasonal wind directions when positioning grills and cooking zones
- Add weatherproof doors and covers to protect appliances during off-seasons
- Include heating or cooling elements to extend usability throughout the year
2. Poor Layout and Traffic Flow Planning
Failing to establish an efficient work triangle between your grill, prep area, and refrigeration creates unnecessary steps and frustration. Just like indoor kitchens, outdoor cooking spaces need logical workflows that minimize movement while maintaining safety zones. A cramped layout forces cooks to constantly navigate around guests, increasing accident risks and reducing enjoyment.

Many homeowners underestimate the space requirements for comfortable outdoor cooking and entertaining. A single cook needs minimum clearances of 48 inches behind work zones, while multiple cooks require even more breathing room. Inadequate spacing creates bottlenecks during parties when several people want to participate in food preparation.

The relationship between your cooking zone and dining area dramatically impacts functionality. Placing them too far apart means food cools during transport and limits cook-guest interaction. Positioning them too close subjects diners to excessive heat, smoke, and cooking odors that diminish their comfort.
- Maintain 42-48 inches of clearance behind all cooking and prep zones
- Create distinct zones for cooking, prepping, serving, and dining activities
- Position the grill 10-15 feet from main seating areas for comfort
- Allow 9-12 feet of linear counter space for serious cooking setups
- Plan clear pathways that don’t cross directly behind hot cooking surfaces
- Consider sight lines so cooks can interact with guests while working
3. Selecting Inappropriate Materials
Choosing materials based solely on aesthetic appeal without considering durability leads to premature replacement costs. Outdoor environments are exponentially harsher than indoor spaces, subjecting surfaces to moisture, temperature extremes, and UV radiation. Materials that seem budget-friendly initially often require replacement within just a few seasons.

Wood countertops and cabinetry look stunning but demand intensive maintenance in outdoor settings. Without proper sealing and regular treatments, wood warps, splits, and becomes breeding grounds for mold and insects. Even pressure-treated lumber deteriorates faster than marine-grade alternatives specifically engineered for outdoor exposure.

Stainless steel quality varies dramatically, and lower grades rust quickly in coastal or humid environments. Marine-grade 316 stainless steel costs more upfront but resists corrosion infinitely better than 304 grade. Similarly, choosing porous natural stones without proper sealing invites staining, etching, and freeze-thaw damage that ruins their appearance.
- Invest in marine-grade stainless steel (316) for coastal or humid regions
- Choose non-porous materials like granite, quartzite, or concrete for countertops
- Avoid particleboard or MDF cabinetry even if rated for outdoor use
- Select UV-resistant finishes and powder-coated metals for longevity
- Use interlocking pavers or stamped concrete rather than standard concrete slabs
- Consider porcelain tile rated for freeze-thaw cycles in cold climates
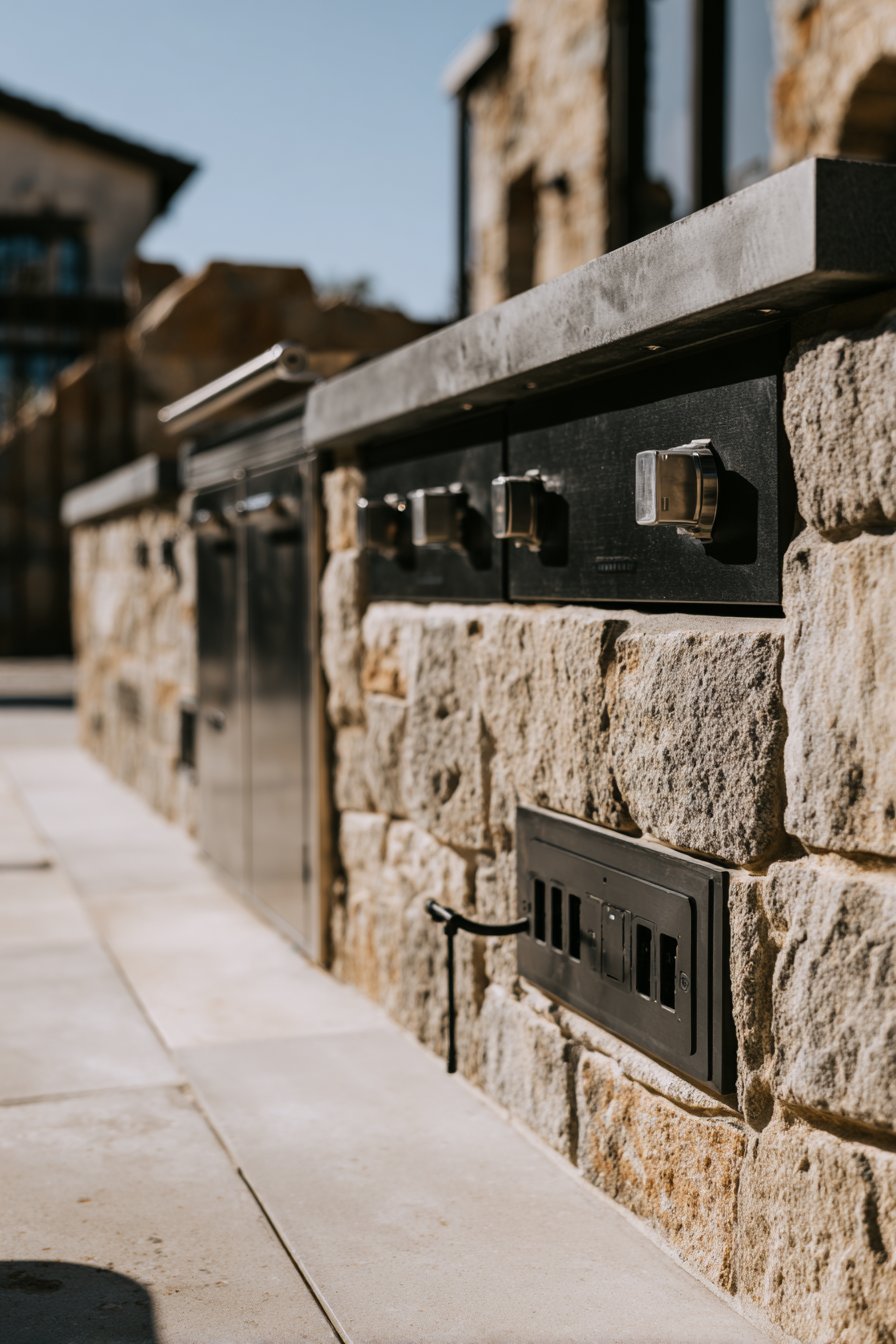
4. Inadequate Utility Planning
Underestimating electrical requirements creates dangerous situations and limits functionality. Outdoor kitchens need dedicated circuits for refrigerators, lighting, and small appliances, plus GFCI protection for all outlets. Running extension cords from your house is both unsafe and impractical for permanent outdoor cooking installations.

Many homeowners forget about proper gas line sizing when adding multiple appliances. A line adequate for a single grill becomes insufficient when you add a side burner, pizza oven, or fire feature. Undersized gas lines result in low BTU output that prevents appliances from reaching proper temperatures.

Water access is frequently an afterthought rather than a priority consideration. Installing plumbing after construction is exponentially more expensive than incorporating it during the initial build. Without a sink, you’ll make countless trips inside for washing hands, rinsing vegetables, and cleaning up.
- Plan for minimum 20-amp dedicated circuits plus additional capacity for future needs
- Install GFCI outlets and ensure all electrical work meets code requirements
- Size gas lines appropriately for all planned appliances plus 25% extra capacity
- Include hot and cold water lines even if installing a sink later
- Plan drain lines during foundation work to avoid costly retrofits
- Consider a frost-free hose bib for year-round water access in cold climates
5. Insufficient Storage and Counter Space
Skimping on counter space is one of the most regretted decisions in outdoor kitchen design. Adequate prep surfaces are essential for food safety, meal preparation, and serving. A minimum of 36 inches of uninterrupted counter space beside your grill provides room for platters, tools, and ingredients.

Neglecting weatherproof storage forces you to haul supplies, utensils, and dishes back and forth constantly. Dedicated storage for grilling tools, serving pieces, and frequently used items makes outdoor cooking convenient rather than cumbersome. Without proper storage, items get damaged by weather exposure or become pest attractions.

Many designs lack dedicated zones for trash, recycling, and composting. These essential elements often become eyesores when not properly integrated into the overall design. Hidden storage for waste management maintains aesthetics while improving sanitation and convenience during cooking and entertaining.
- Plan for 72 inches minimum of total counter space for serious cooks
- Include weatherproof cabinets with marine-grade hardware and gaskets
- Add pull-out trash and recycling bins within the main work zone
- Install drawer storage for utensils, tools, and frequently used items
- Consider vertical storage solutions like hanging racks for pots and tools
- Create a separate serving station away from hot cooking zones
6. Overlooking Proper Lighting Design
Relying solely on ambient patio lighting makes outdoor cooking dangerous and impractical after sunset. Task lighting over cooking and prep surfaces is non-negotiable for safety and functionality. Inadequate illumination leads to undercooked food, increased fire hazards, and higher injury risks from sharp tools.
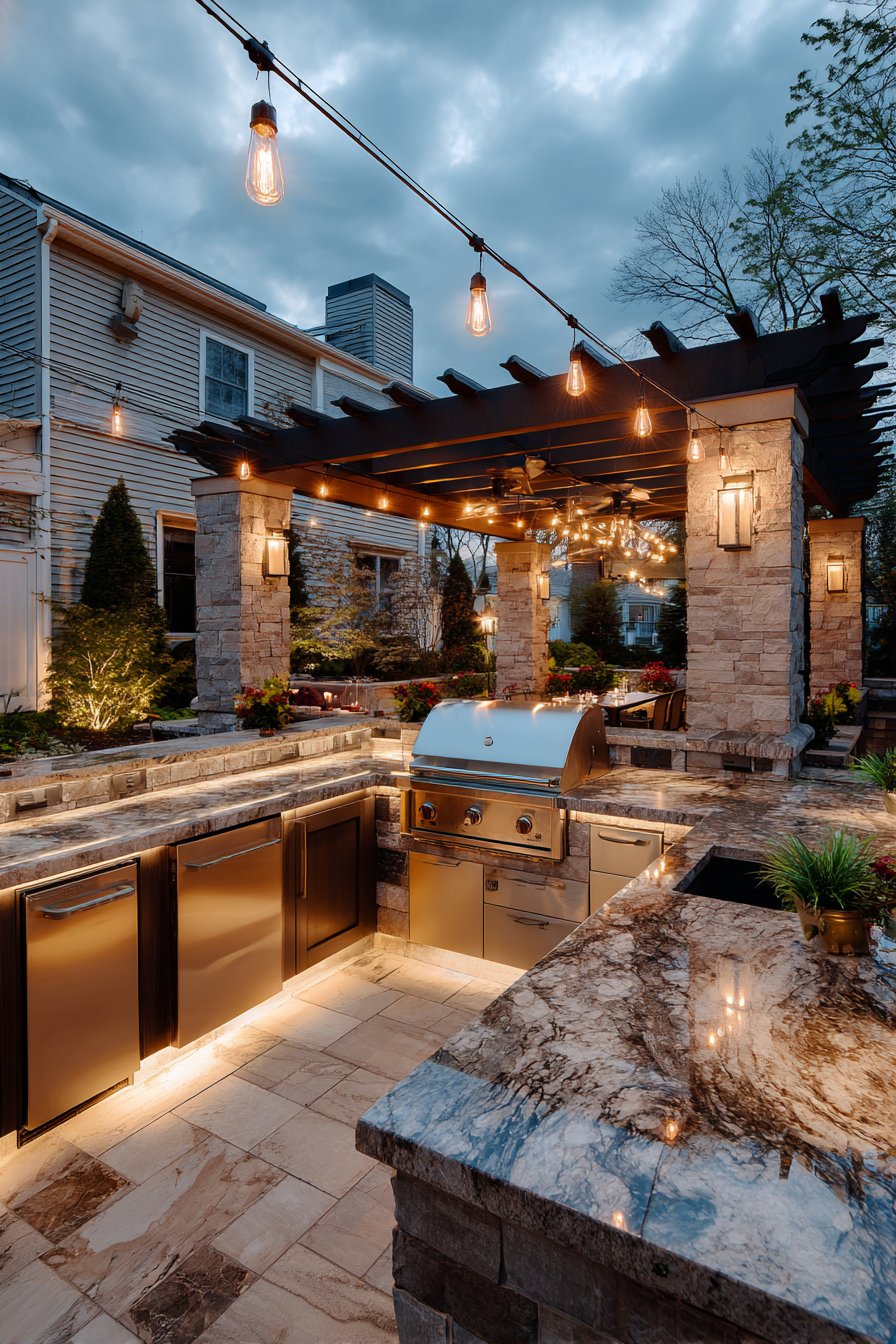
Many homeowners install lights as an afterthought, creating harsh shadows and uneven illumination. Layered lighting design includes task lights for work zones, ambient lighting for atmosphere, and accent lights for architectural features. This approach ensures adequate visibility while maintaining the inviting ambiance that makes outdoor spaces special.

LED technology offers energy efficiency and longevity perfect for outdoor applications. Waterproof fixtures rated for outdoor use prevent electrical hazards and corrosion issues. Dimmer controls allow you to adjust lighting levels from bright task lighting during food prep to softer ambient light during dining.
- Install task lighting 30-36 inches above all prep and cooking surfaces
- Use waterproof LED fixtures rated for outdoor exposure and moisture
- Add dimmer switches for adjustable lighting throughout different activities
- Include pathway lighting between the kitchen and house for safety
- Consider under-cabinet lighting to illuminate countertops effectively
- Install separate switches for task, ambient, and accent lighting zones
7. Ignoring Safety and Code Requirements
Failing to research local building codes before construction leads to expensive retrofits or even demolition orders. Many jurisdictions require permits for outdoor kitchens, especially those with permanent gas or electrical connections. Setback requirements dictate minimum distances from property lines that affect your layout options.

Fire safety clearances around grills and other heat sources protect your home and surrounding structures. Many manufacturers specify minimum distances that exceed general code requirements. Combustible materials like wood decking, siding, or overhead structures need adequate separation to prevent dangerous fire hazards.

Proper ventilation planning prevents dangerous carbon monoxide buildup in covered outdoor kitchens. Enclosed or partially enclosed spaces require specific ventilation systems similar to indoor range hoods. Inadequate ventilation also allows grease buildup that increases fire risks and creates cleaning nightmares.
- Research local building codes and obtain necessary permits before starting
- Maintain manufacturer-specified clearances around all heating appliances
- Install proper ventilation systems in covered or enclosed outdoor kitchens
- Use fire-resistant materials like brick, stone, or concrete near heat sources
- Include a fire extinguisher rated for grease fires within easy reach
- Ensure gas shutoff valves are accessible in emergency situations
8. Failing to Plan for Future Needs
Designing without considering expansion possibilities locks you into limitations you’ll later regret. Adding infrastructure for future appliances costs minimally during initial construction but becomes extremely expensive as a retrofit. Stubbing in gas lines, electrical circuits, and plumbing rough-ins during the build phase provides flexibility for evolving needs.
Many homeowners don’t anticipate how their cooking preferences evolve over time. Starting with basic grilling often leads to desires for smokers, pizza ovens, or elaborate bar setups. Leaving physical space and utility capacity for additions prevents costly remodeling when you want to upgrade.
Technology integration is increasingly important in outdoor living spaces. Planning for outdoor speakers, televisions, or smart home controls during initial construction ensures clean installations. Running conduit for future technology needs costs little during construction but saves significant headaches later.
- Rough-in extra gas, electric, and water lines during initial construction
- Design layouts with physical space for potential future additions
- Install larger utility infrastructure than currently needed for expansion capacity
- Run conduit for future technology and entertainment system integration
- Consider modular designs that allow for easy expansion or reconfiguration
- Document all buried utilities and rough-ins for future reference
Conclusion
Avoiding these eight common outdoor kitchen design mistakes sets the foundation for a space that delivers lasting value, enjoyment, and functionality. Strategic planning during the design phase prevents expensive corrections and ensures your outdoor kitchen enhances rather than complicates your lifestyle. From climate considerations to proper utility infrastructure, each element plays a crucial role in long-term success.
Remember that your outdoor kitchen is a significant investment that should serve you well for decades. Taking time to plan carefully, choose appropriate materials, and work with qualified professionals pays dividends through reduced maintenance, enhanced safety, and greater satisfaction. Start your outdoor kitchen journey with these principles in mind, and you’ll create an entertainment paradise that becomes the heart of your outdoor living space for years to come.