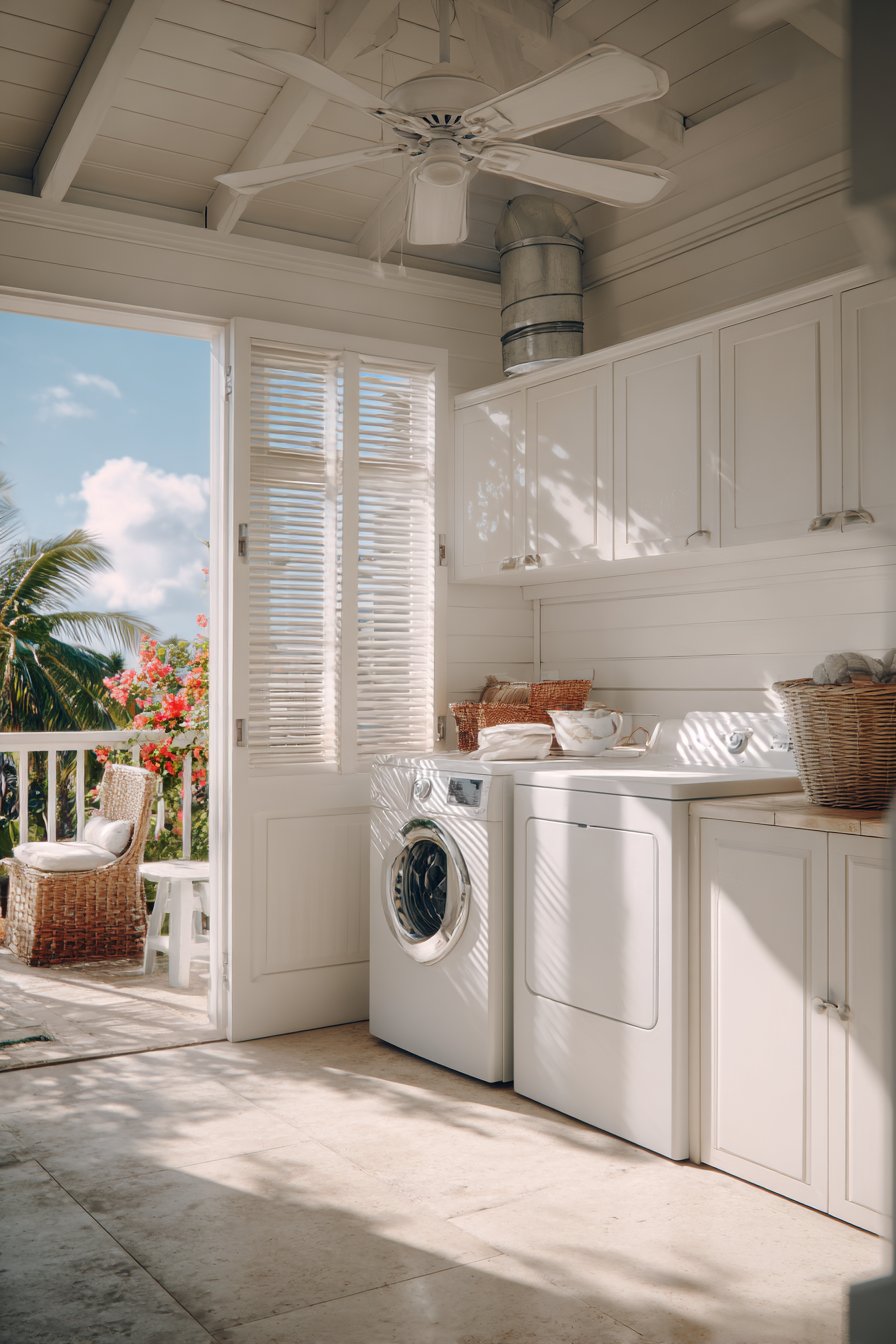
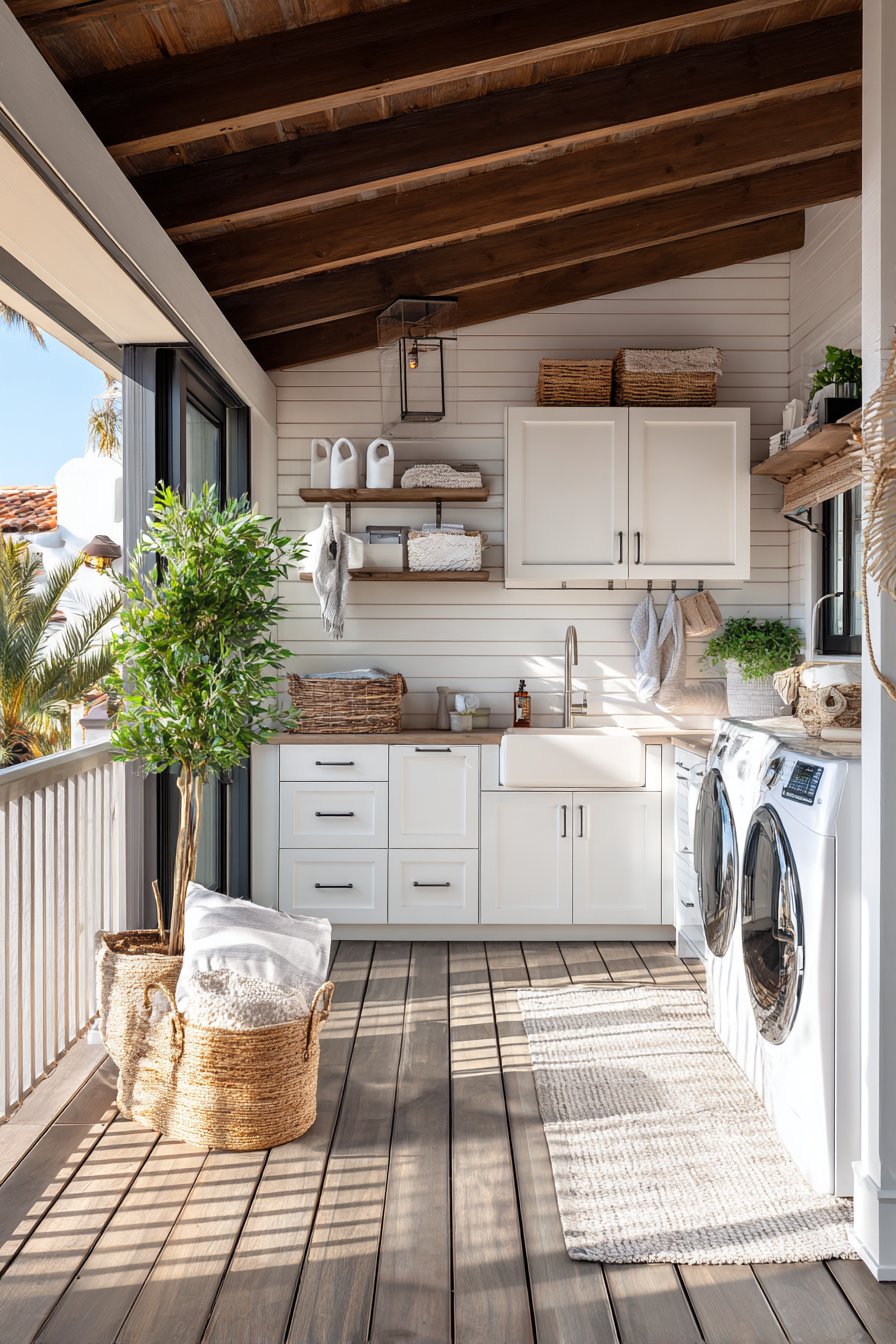
Designing an outdoor laundry room can be a brilliant way to expand your home’s functionality and free up valuable indoor space. Whether you’re working with a covered patio, a side yard nook, or a dedicated exterior utility area, the appeal is clear. Outdoor laundry spaces offer fresh air, natural light, and a sense of separation from living areas. However, without careful planning, they can quickly become frustrating, inefficient, or even dangerous spaces.

Many homeowners dive into outdoor laundry room projects with enthusiasm but overlook crucial design details. The result? Expensive repairs, appliance damage, and layouts that simply don’t work in real life. Understanding the most common pitfalls before you build can save you thousands of dollars and countless headaches down the road.

This article walks through the eight most critical outdoor laundry room design mistakes and explains exactly how to avoid them. From weatherproofing oversights to poor ventilation planning, each mistake is paired with practical, actionable solutions you can apply whether you’re starting from scratch or upgrading an existing outdoor setup.
1. Ignoring Weather Protection and Waterproofing
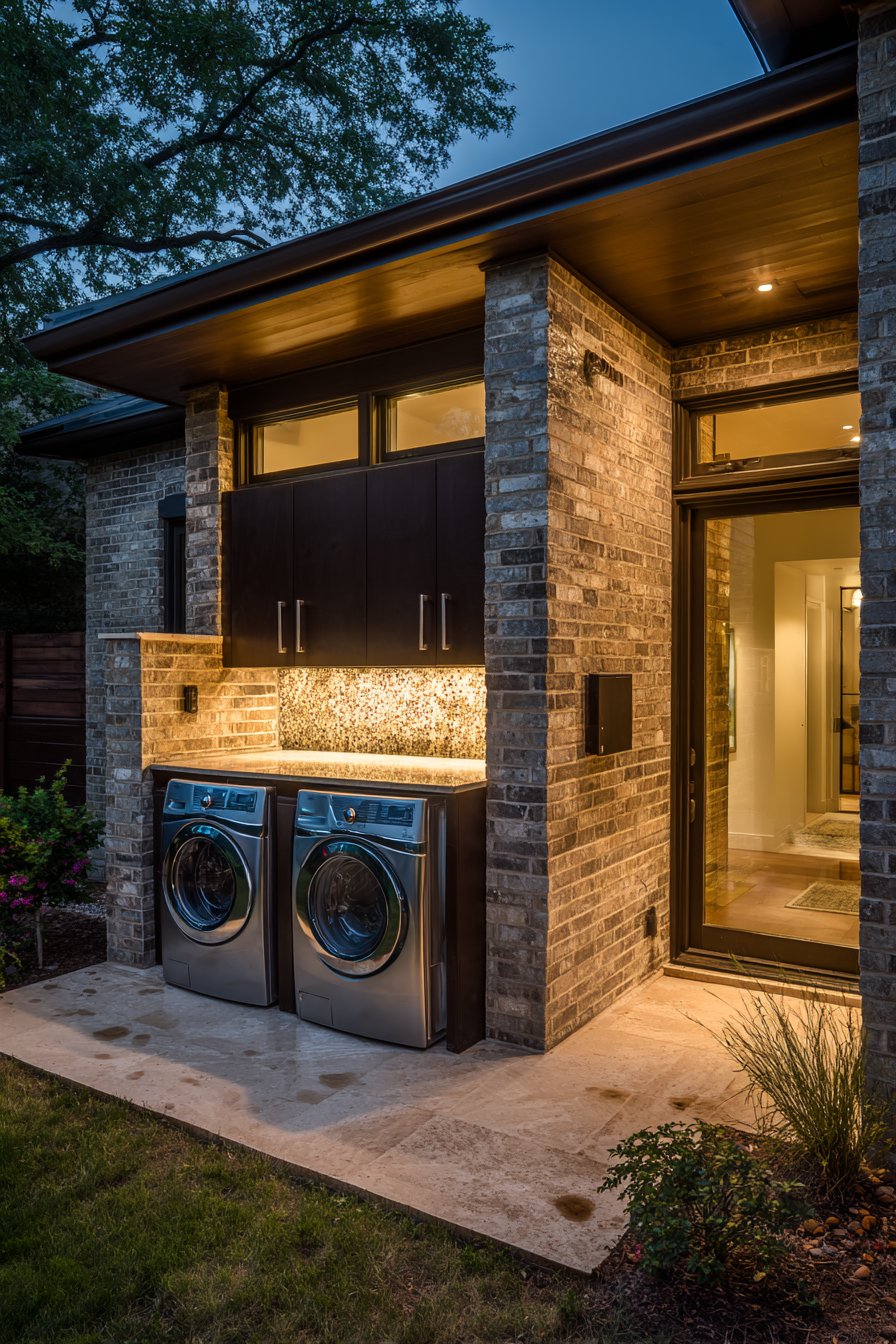
One of the most costly mistakes homeowners make is underestimating how much weather exposure affects an outdoor laundry space. Even in mild climates, direct sun, rain, and humidity can destroy appliances, warp cabinetry, and corrode fixtures within just a few seasons. Many people assume a simple overhang is enough — it rarely is.
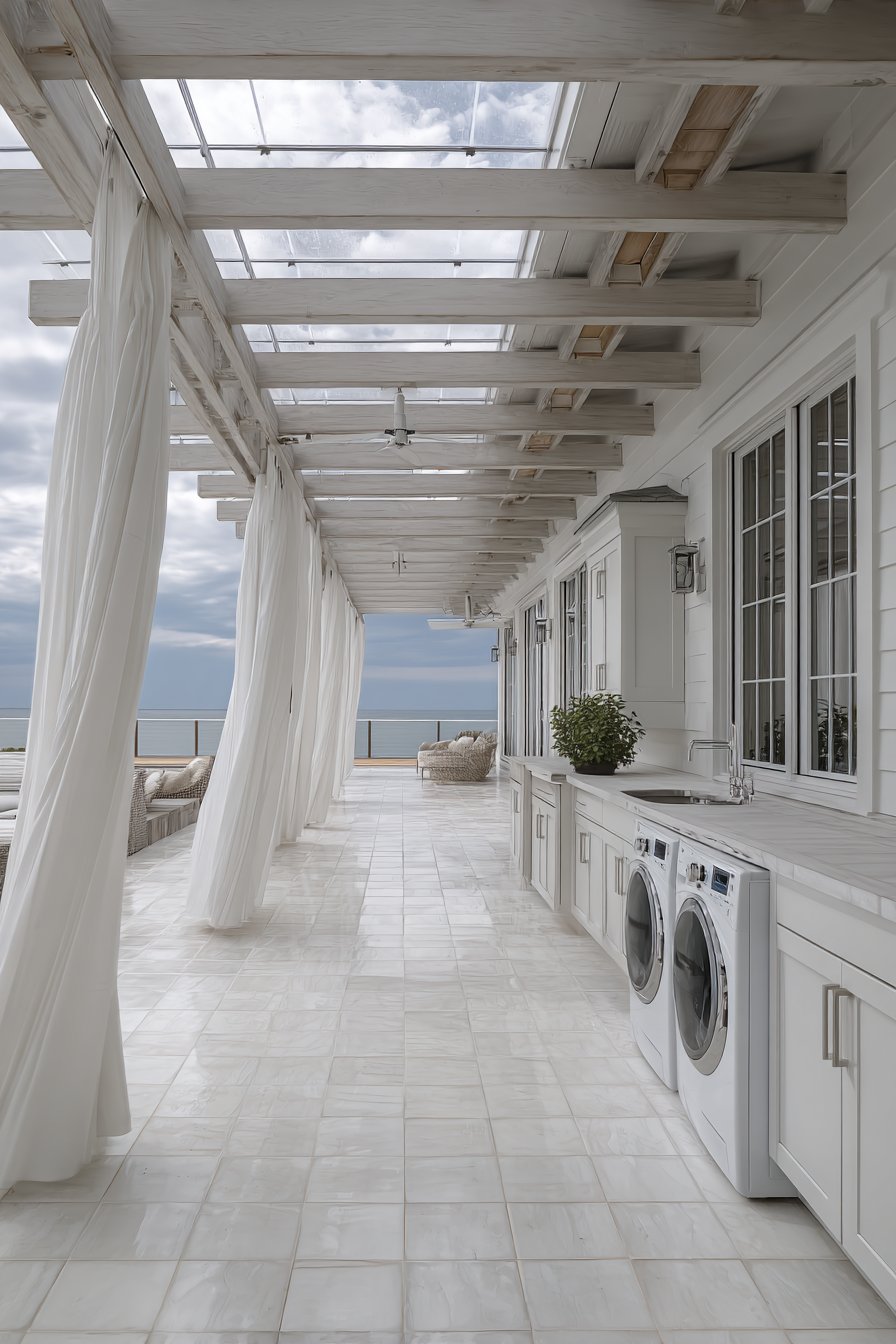
Proper weather protection starts with a fully covered roof structure that extends well beyond the appliance footprint. A minimum overhang of 24 to 36 inches on all open sides helps deflect wind-driven rain. For regions with heavy rainfall or intense sun, consider enclosed siding panels or retractable weatherproof curtains that can seal the space during storms or extended periods of non-use.
Beyond overhead coverage, the floor and wall materials matter enormously. Avoid using untreated wood near appliances or plumbing connections. Opt for sealed concrete, porcelain tile rated for outdoor use, or composite decking that handles moisture without warping. Every material in your outdoor laundry room should be rated for exterior applications — don’t repurpose indoor materials because they look convenient.
- Install a waterproof-rated roof or pergola cover extending at least 24 inches past appliance edges
- Use exterior-grade cabinetry with UV-resistant finishes and weatherproof door seals
- Apply a penetrating concrete sealer to floors annually to prevent moisture absorption
- Choose stainless steel or powder-coated hardware for all fixtures to prevent rust
- Add weatherstripping around any enclosed storage to keep rain and humidity out
- Consider roll-down outdoor blinds or polycarbonate panels for storm protection
2. Choosing Indoor Appliances for Outdoor Use
This mistake seems obvious in hindsight, but it’s surprisingly common. Homeowners often purchase standard residential washers and dryers and place them in outdoor spaces without checking the manufacturer’s operating specifications. Standard appliances are not designed to handle temperature swings, humidity, direct sunlight, or outdoor air quality.

Outdoor-rated or weatherproof appliances exist precisely for these environments. These units typically feature sealed control panels, corrosion-resistant exteriors, and internal components that tolerate humidity and temperature variation from near-freezing to over 100°F. Some manufacturers, including Speed Queen and certain LG and Samsung commercial lines, offer models better suited for semi-outdoor installations when paired with adequate shelter.
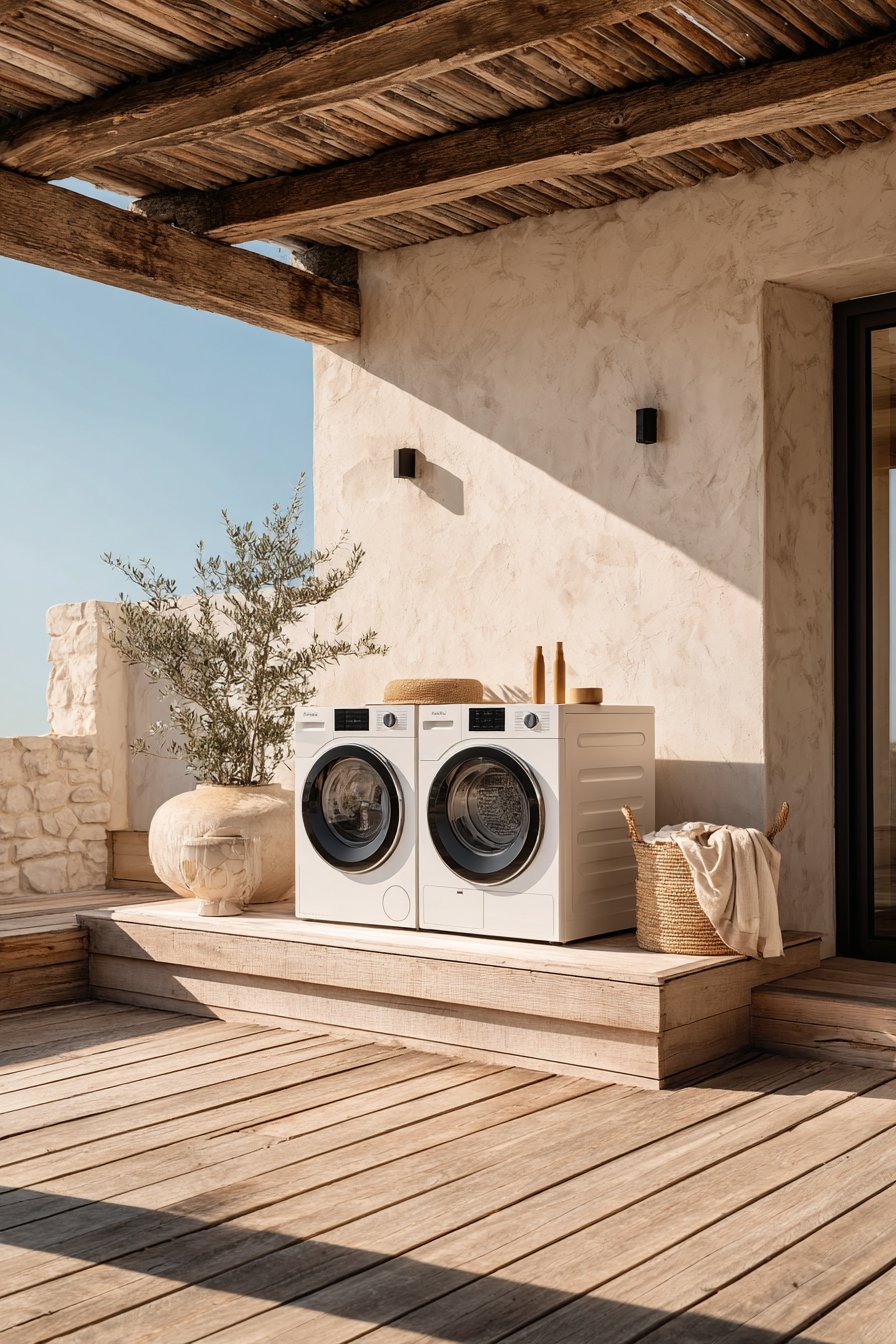
At a minimum, your outdoor appliances should be protected from direct precipitation and UV radiation, which degrades plastic components, rubber seals, and control panel displays over time. If you cannot source appliances specifically designed for outdoor environments, ensure your shelter provides complete enclosure and consider appliance covers made from weatherproof fabric when units are not in use.
- Research manufacturer warranty terms — most void coverage if appliances are exposed to outdoor conditions
- Look for models with an IP (Ingress Protection) rating if using in partially open spaces
- Choose front-load washers, as top-loaders are more vulnerable to debris accumulation outdoors
- Install appliances on raised platforms at least 4 inches above finished floor level
- Use appliance covers specifically rated for outdoor use when machines are idle
- Consult a licensed appliance technician before placing any indoor unit in an outdoor setting
3. Poor Ventilation and Airflow Planning
Dryers produce a significant amount of heat, moisture, and lint. In an outdoor setting, many homeowners assume this is automatically managed by the open environment — this is a dangerous misconception. Poor ventilation planning leads to lint accumulation, excess humidity in nearby walls or ceilings, and potential fire hazards.
Even in an outdoor space, your dryer still requires a dedicated exhaust duct that vents directly away from the structure, not into a covered ceiling cavity or adjacent wall. Lint-trap fires remain one of the leading causes of residential laundry-related fires, and an outdoor setting does not eliminate this risk. The exhaust path should be as short and straight as possible — ideally no longer than 25 feet with minimal bends.
Beyond dryer venting, general airflow through the laundry space prevents condensation buildup on surfaces, reduces mold risk, and keeps the space from feeling like a sauna in warmer months. Design the layout so prevailing breezes can move through the space. If the area is enclosed, install louvered vents or a small exhaust fan to maintain consistent air movement even when appliances are running.
- Route dryer exhaust directly to the exterior using rigid metal ducting, never flexible plastic
- Keep exhaust duct runs under 25 feet and limit elbows to no more than two 90-degree bends
- Clean the lint trap after every cycle and inspect the exhaust duct annually
- Install louvered panels or ventilation openings on at least two sides of enclosed outdoor laundry areas
- Add a humidity-sensing exhaust fan if the space is semi-enclosed or experiences condensation
- Never vent a dryer into a ceiling cavity, crawl space, or enclosed wall structure
4. Inadequate Electrical and Plumbing Planning
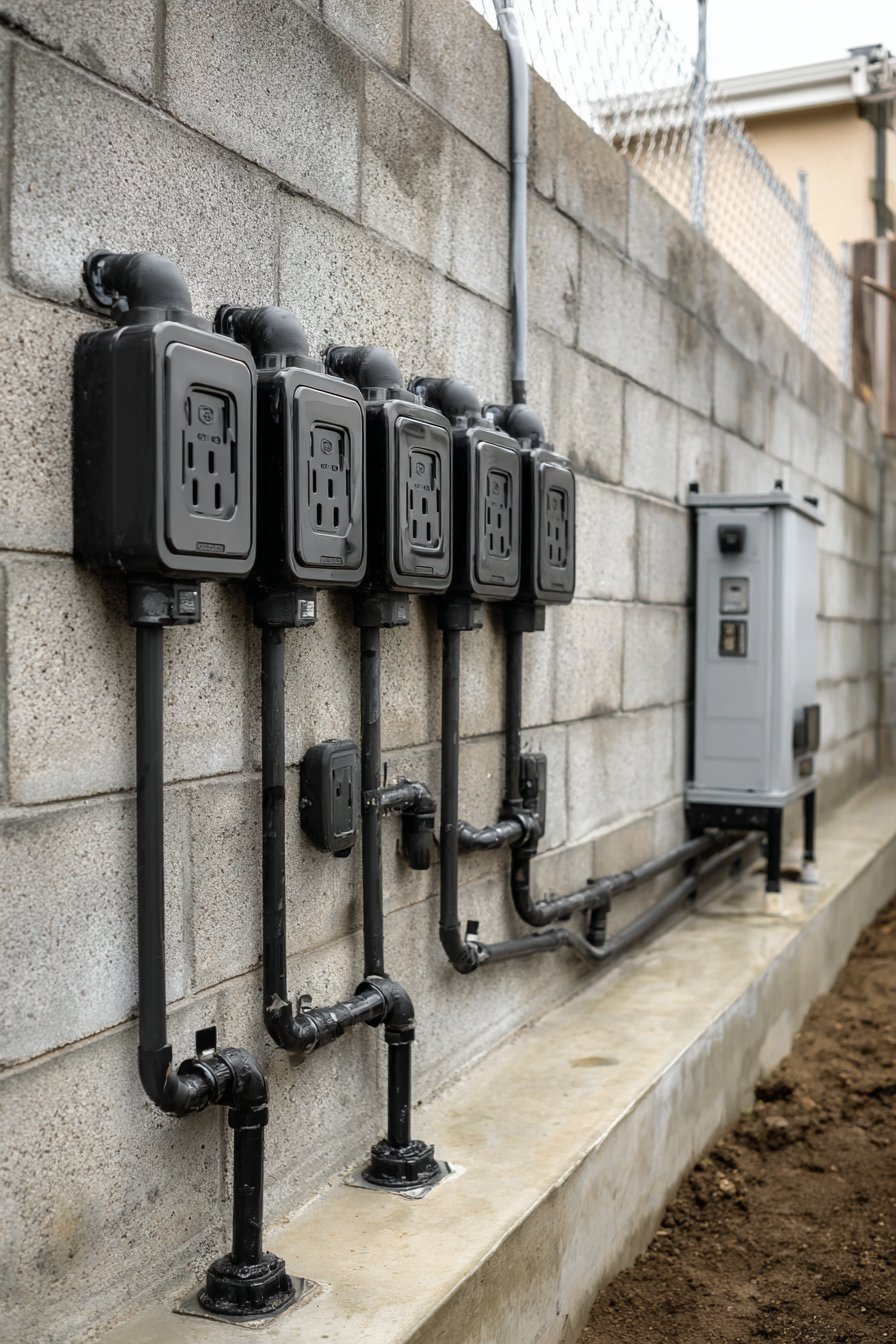
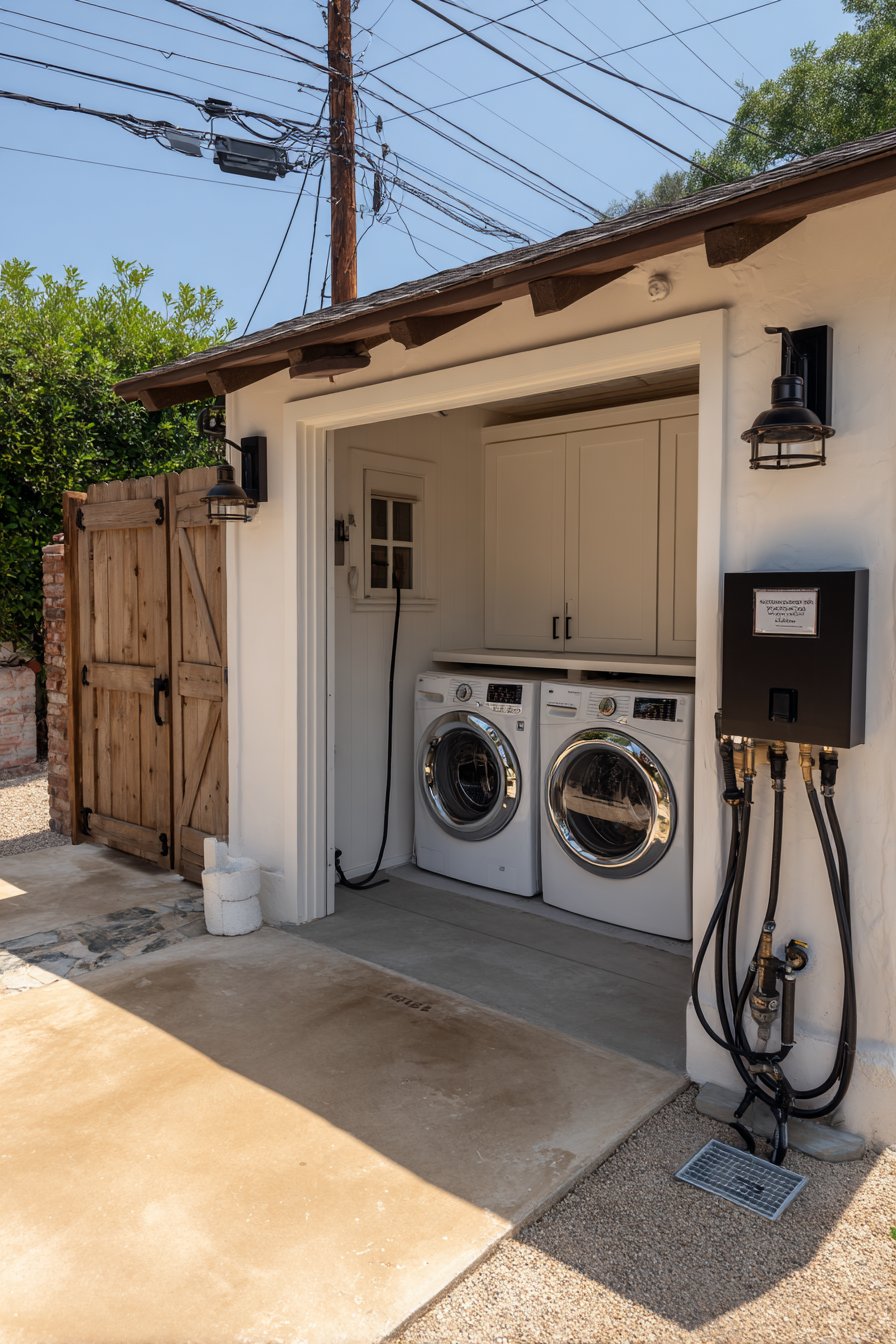
Outdoor laundry rooms demand the same electrical and plumbing infrastructure as indoor ones — but with additional safety requirements for exterior environments. Skimping on this infrastructure is one of the most dangerous and expensive mistakes you can make. Electrical connections exposed to moisture without proper protection create serious shock and fire hazards.
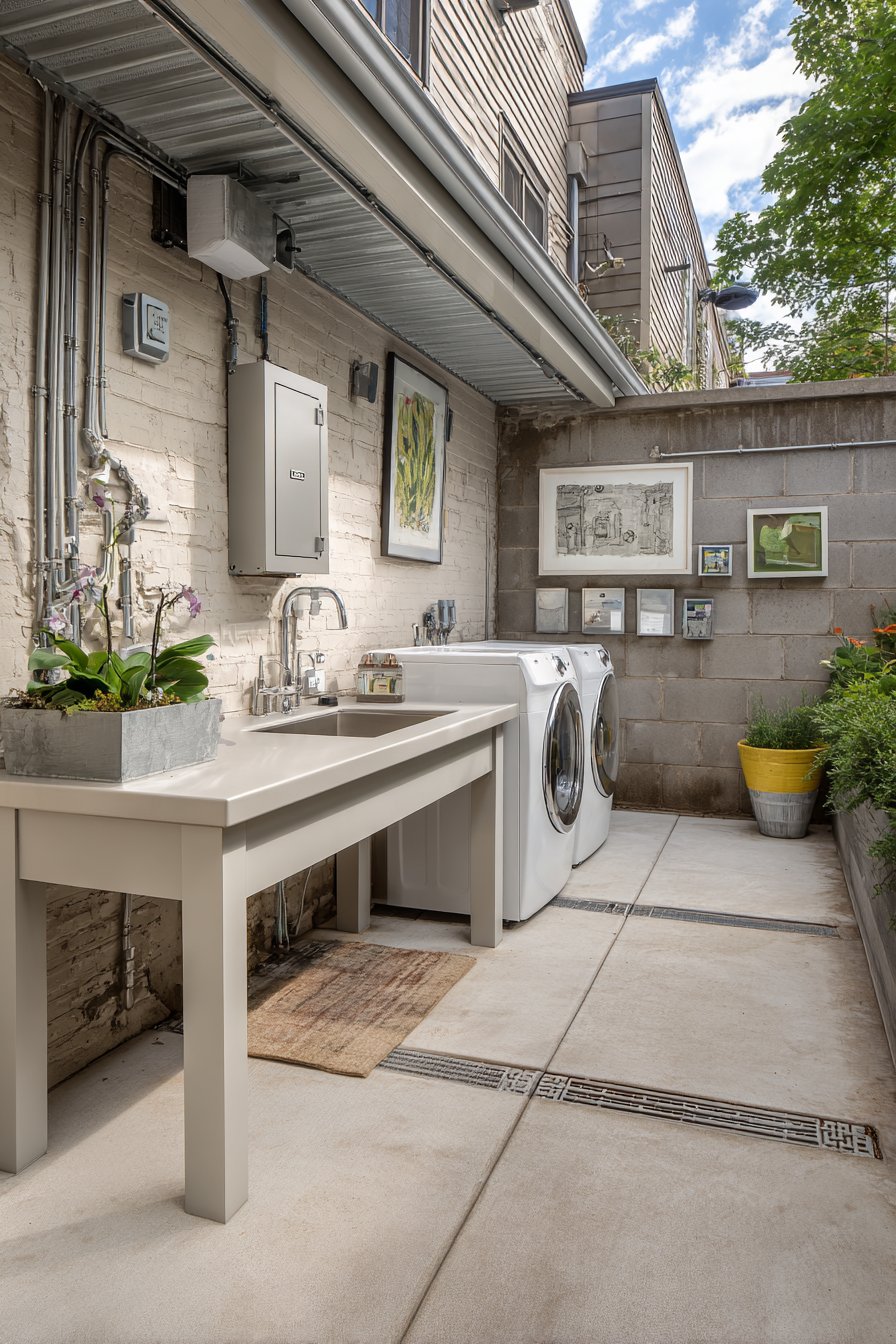
All outdoor electrical outlets and connections must be GFCI-protected (Ground Fault Circuit Interrupter) and rated for wet or damp locations. Standard dryers require a 240-volt, 30-amp dedicated circuit, while washers typically need a 120-volt, 20-amp circuit. Both circuits must be run in weatherproof conduit by a licensed electrician and terminated in a weatherproof electrical panel or sub-panel appropriate for outdoor installation.
Plumbing in outdoor spaces must account for freeze protection in colder climates. Supply lines should be insulated or installed with heat tape where temperatures regularly drop below freezing. Drainage must connect to your home’s sanitary sewer system — never discharge washer wastewater onto the ground, as this violates most municipal codes. Plan for a properly sloped drain line and include a cleanout access point for maintenance.
- Hire a licensed electrician to install all outdoor circuits — never DIY high-voltage exterior wiring
- Use weatherproof in-use outlet covers rated for wet locations on all receptacles
- Install GFCI protection on every circuit serving the outdoor laundry area
- Insulate supply lines and install shutoff valves accessible from inside the home
- Slope drain lines at a minimum of 1/4 inch per linear foot toward the main sewer connection
- Plan your plumbing rough-in before finalizing cabinet layouts to avoid costly reroutes
5. Neglecting Storage and Organization Design
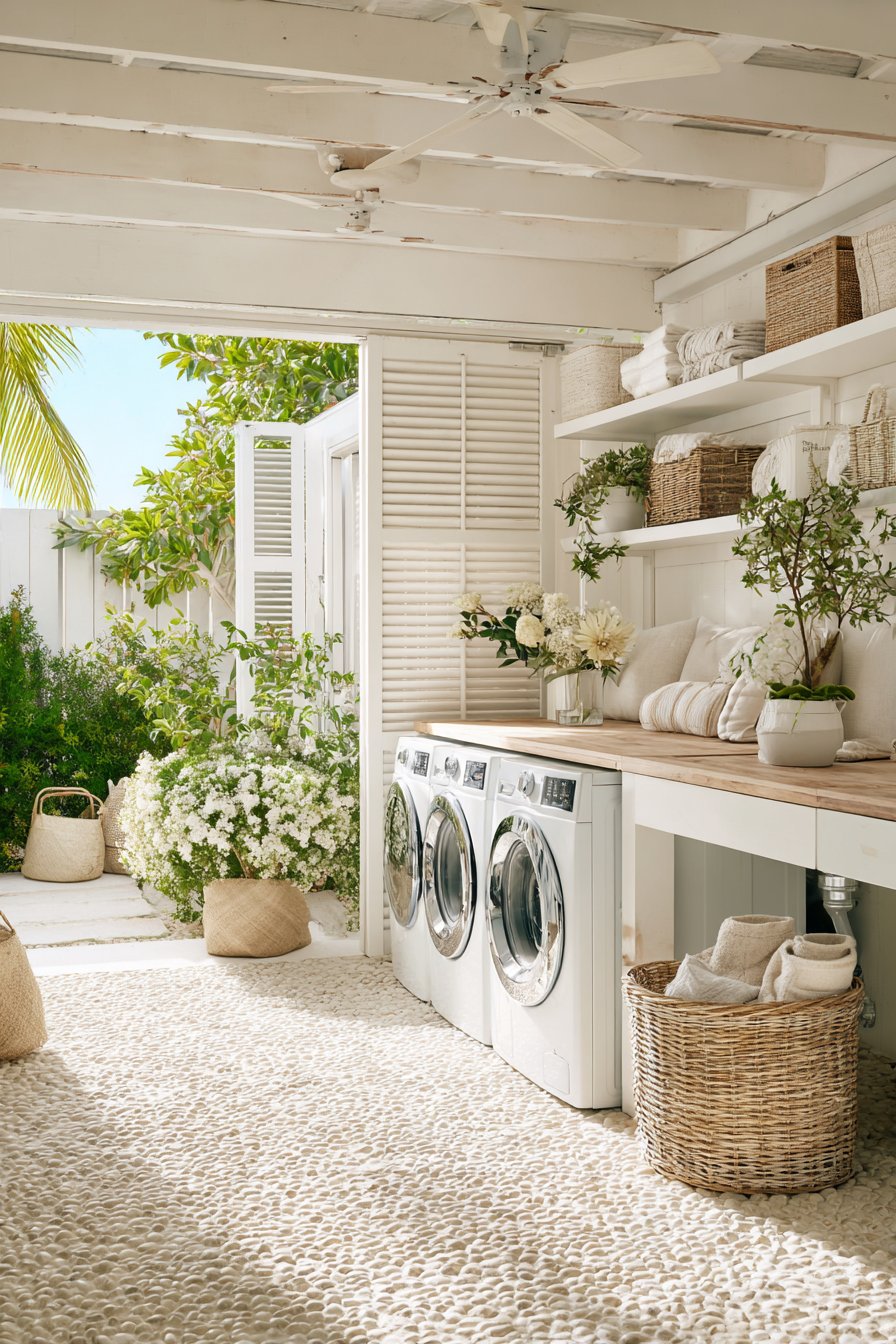
A laundry room without adequate storage quickly becomes a cluttered, dysfunctional space. In an outdoor setting, this problem is compounded by the need for weather-resistant storage solutions that protect detergents, fabric softeners, and laundry accessories from heat, humidity, and rain. Many outdoor laundry designs focus entirely on appliances and ignore the practical workflow around them.
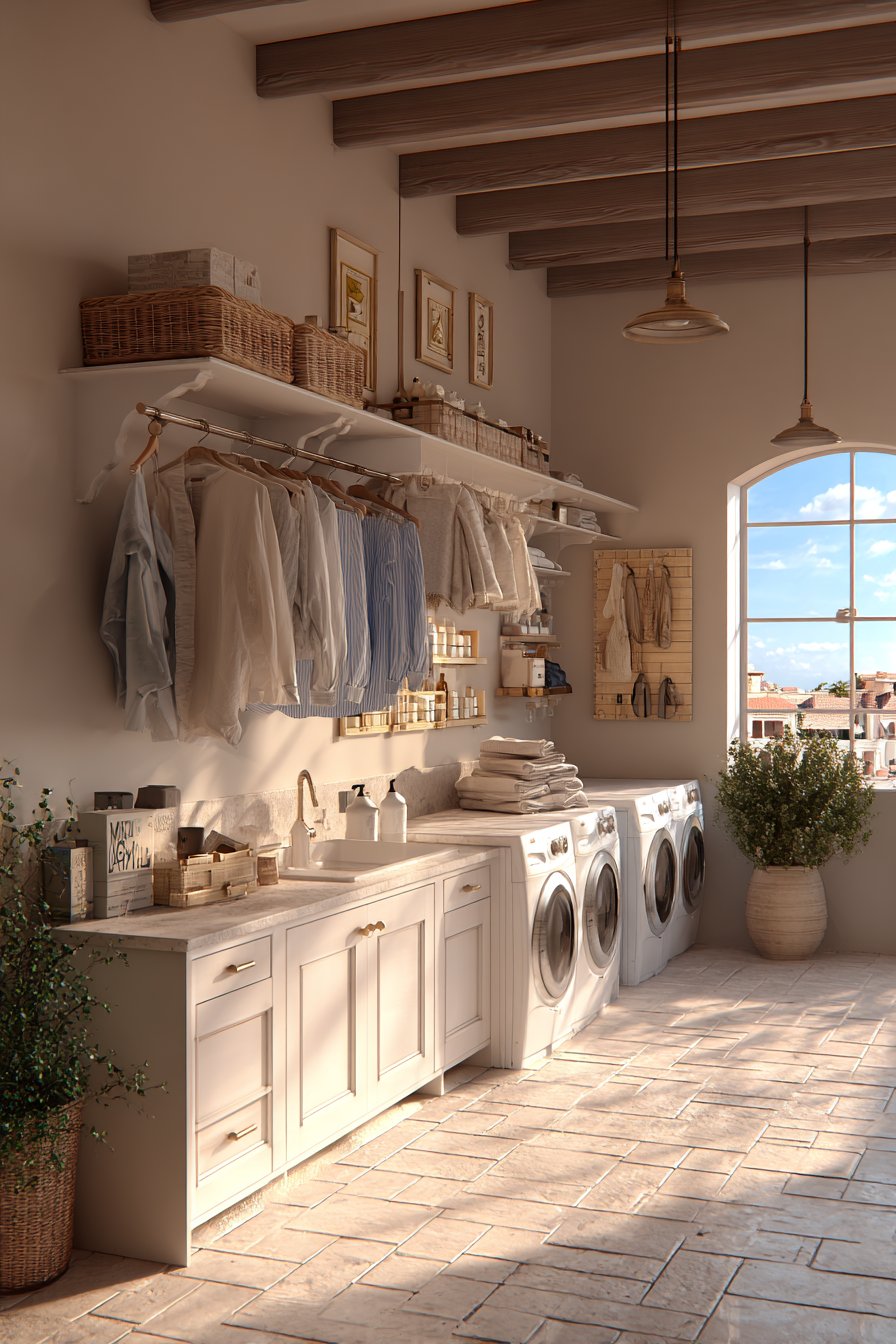
Every outdoor laundry space needs at minimum a dedicated storage zone for supplies, a hanging or folding area, and a spot for laundry baskets. Upper cabinets with weatherproof seals keep supplies dry and organized. A fold-down wall-mounted folding table saves space while providing the work surface needed for sorting and folding. Consider pull-out hamper drawers built into lower cabinet sections to keep dirty laundry contained and off the floor.
Vertical space is frequently wasted in outdoor laundry designs. Ceiling-mounted drying racks that lower with a pulley system are particularly effective in outdoor spaces, taking advantage of fresh air and natural breeze for line drying. Wall-mounted hooks, pegboards with weatherproof panels, and open shelving made from treated teak or powder-coated metal add flexible storage without consuming floor space.
- Use only exterior-rated cabinet materials — marine-grade plywood with waterproof finish or PVC cabinetry
- Install a fold-down wall table for folding that tucks away when not in use
- Add a ceiling-mounted pulley drying rack to maximize vertical space
- Include a deep utility sink with storage underneath for soaking and handwashing tasks
- Mount a pegboard panel with weatherproof backing for accessories like brushes, hangers, and clips
- Keep detergents in sealed, UV-resistant containers to prevent degradation from sunlight
6. Overlooking Privacy and Aesthetics
Outdoor laundry spaces are often treated as purely utilitarian — no thought given to how they look or how much they expose your household activities to neighbors and visitors. A poorly screened outdoor laundry area can become a visual eyesore that reduces curb appeal and makes the space feel exposed and uninviting. Privacy matters both for aesthetic reasons and for practical ones, such as keeping laundry out of sight from the street.
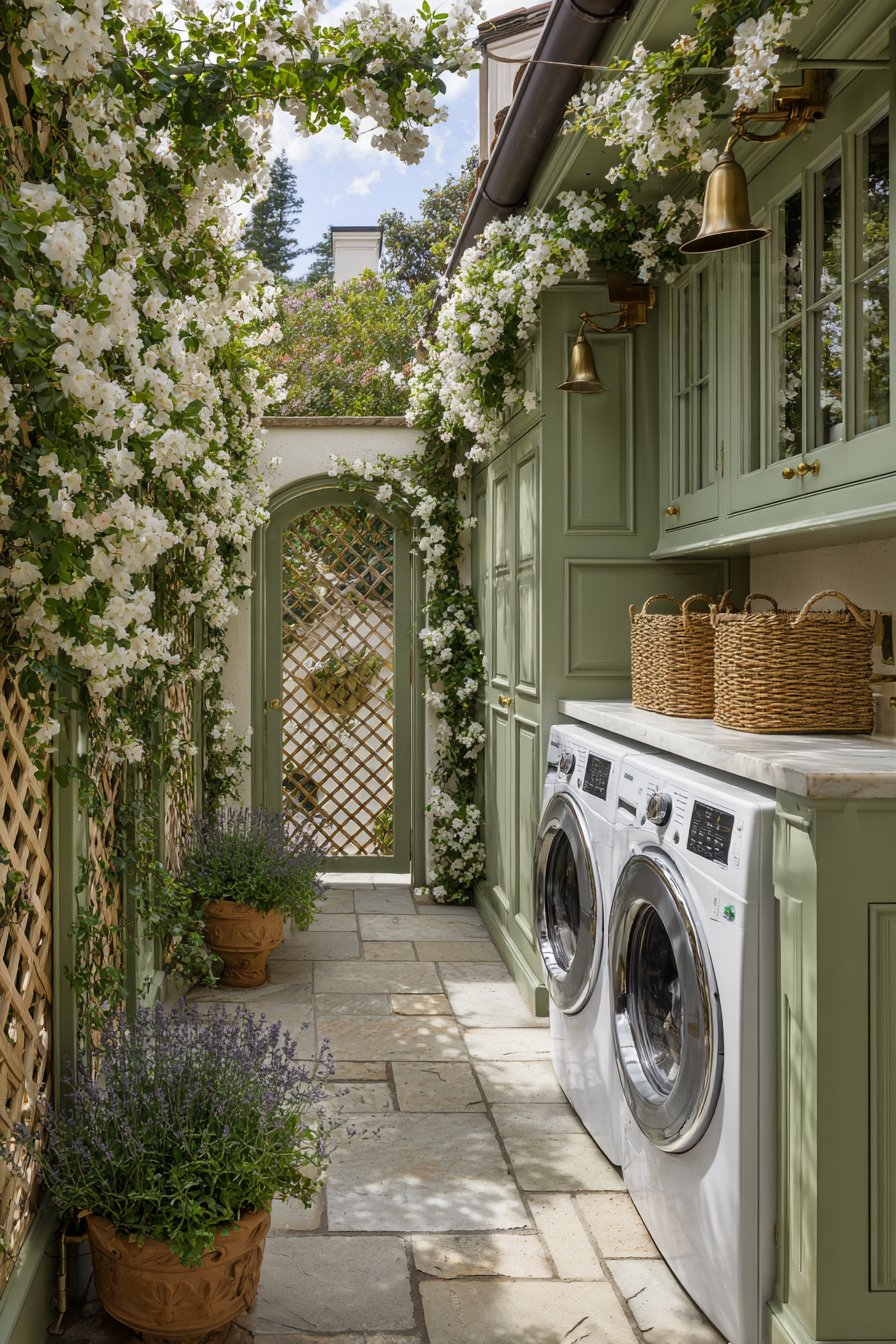
Privacy screening can take many forms without sacrificing function. Lattice panels covered in climbing plants create a natural, attractive barrier. Bamboo screening panels are affordable, fast to install, and provide excellent visual coverage. A well-designed fence extension or garden wall can elegantly frame the laundry space while making it feel like an intentional part of the landscape rather than an afterthought.
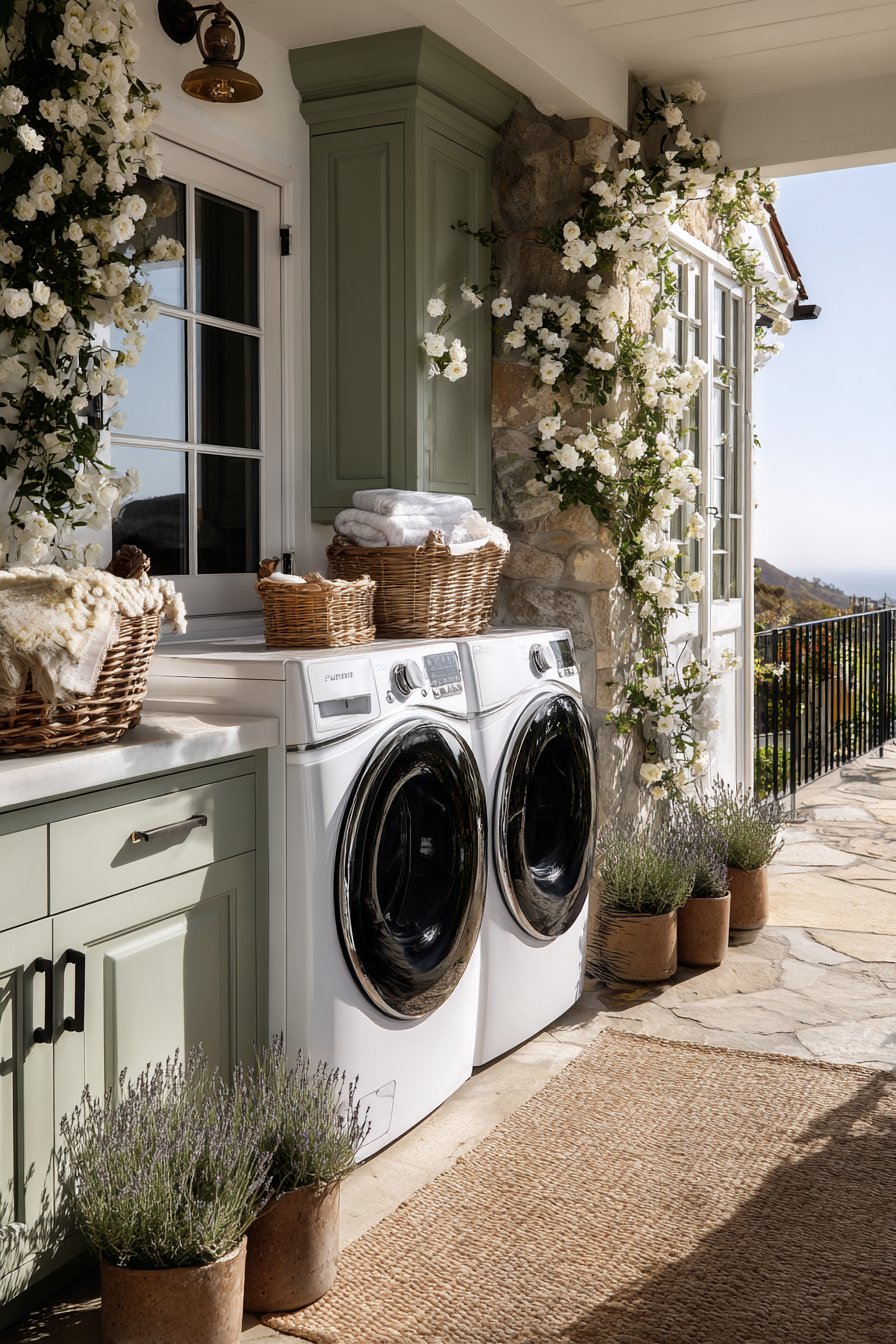
The aesthetic design of the space should also complement your home’s exterior. Choose cabinet colors, countertop materials, and decorative elements that match or coordinate with your house’s architectural style. Even simple details like matching hardware finishes, a coordinated color palette, and adding a few potted plants can transform a utilitarian outdoor laundry station into a beautiful and functional extension of your home.
- Plan privacy screening during the initial design phase, not as an afterthought
- Use lattice with climbing plants like jasmine or clematis for a natural privacy solution
- Choose exterior cabinet colors that match or complement your home’s exterior paint palette
- Add outdoor lighting — pendant lights or wall sconces — to make the space attractive in the evening
- Install a gate or door to enclose the space and prevent unauthorized access
- Use consistent materials and finishes across the laundry area and adjacent outdoor spaces
7. Failing to Plan for Maintenance Access
Appliances require periodic service, and outdoor laundry spaces often end up with machines pushed tightly against walls or hemmed in by cabinetry with no room to maneuver. When a washer starts leaking or a dryer needs a new heating element, the inability to access the back of the machine becomes an expensive and frustrating obstacle. Many homeowners don’t discover this problem until the first repair call.

The standard recommendation is to maintain at least 6 inches of clearance behind washers and dryers for hose connections, venting, and service access. In practice, planning for 12 inches behind machines gives technicians enough space to work comfortably without fully removing appliances. Side clearances of at least 1 inch on each side prevent heat buildup and allow for vibration without wall contact.
Beyond appliance clearance, think about plumbing and electrical access points. Shutoff valves, electrical panels, and junction boxes should never be hidden behind fixed cabinetry without access panels. Design removable panels into your cabinetry layout wherever service access is needed. Keeping a dedicated maintenance checklist for your outdoor laundry room — covering duct cleaning, drain inspection, appliance leveling, and seal condition checks — helps catch problems before they escalate.
- Maintain a minimum of 6 inches behind appliances; 12 inches is strongly recommended
- Install removable access panels in cabinetry covering plumbing shutoffs and electrical connections
- Level appliances on adjustable feet and recheck level every six months as outdoor surfaces shift
- Include a hose bib or utility faucet near the washer for easy cleaning of the area
- Schedule annual professional inspections of electrical connections, dryer venting, and drain lines
- Keep a laminated maintenance schedule attached inside a cabinet door for easy reference
8. Underestimating Lighting Requirements
Laundry tasks often happen in the early morning or evening, and outdoor spaces present unique lighting challenges that indoor rooms simply don’t face. Many outdoor laundry designs include no dedicated lighting plan at all, leaving users squinting at labels in the dark or relying on a single distant porch light. Poor lighting leads to sorting errors, detergent miscalculations, and a generally unpleasant user experience.
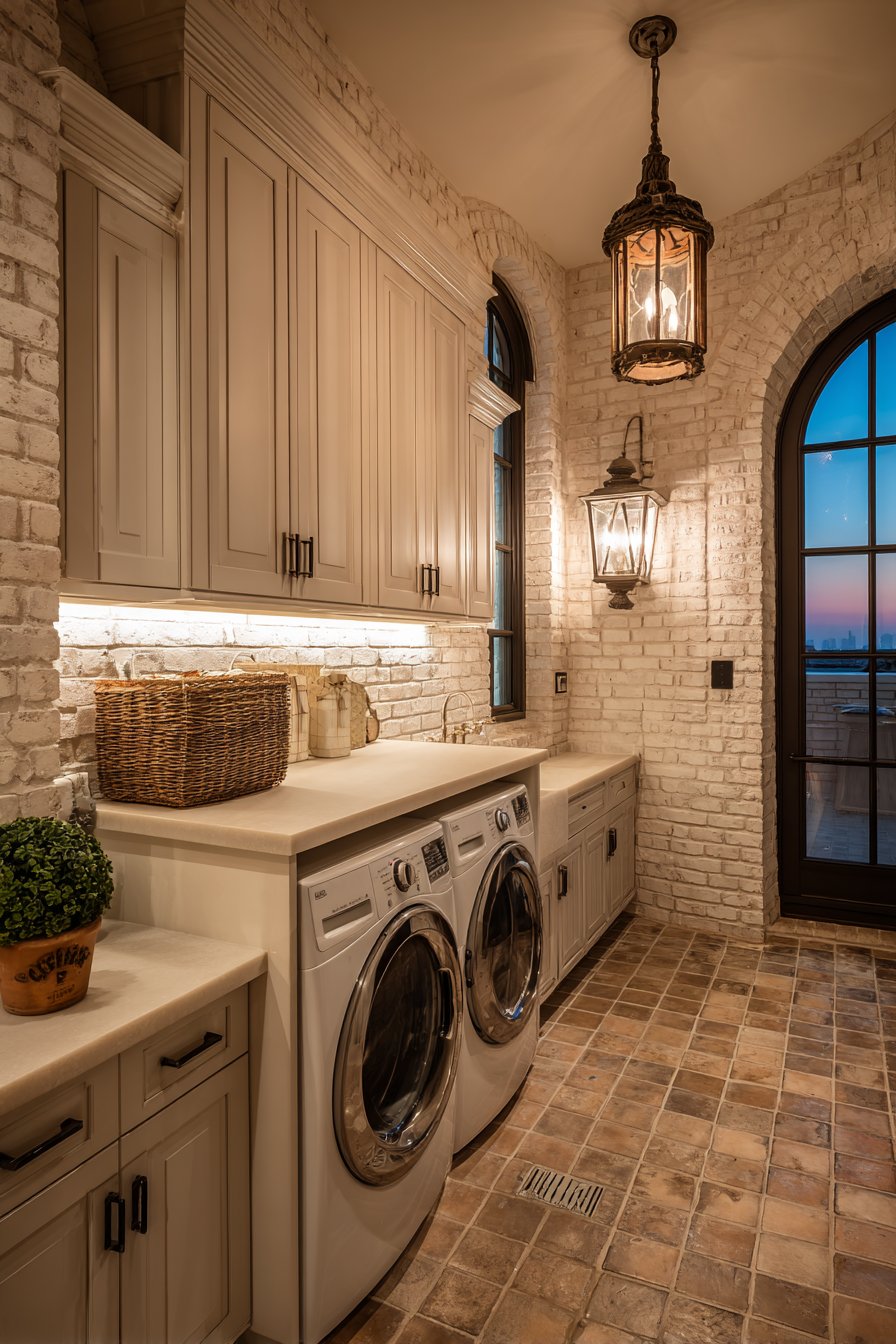
Task lighting directly above the appliances and work surfaces is essential. Waterproof LED strip lights installed under upper cabinets provide excellent close-range illumination for the washer controls and folding table. Overhead fixtures should be rated for damp or wet locations — look for fixtures with an appropriate UL listing for outdoor installation. Avoid standard indoor fixtures, which corrode quickly in humid outdoor environments.
A layered lighting approach works best: ambient lighting for general visibility, task lighting for work surfaces, and optional accent lighting to enhance aesthetics. Motion-activated lighting adds both convenience and security. Smart outdoor bulbs allow you to adjust brightness and automate schedules, ensuring the space is always well-lit when needed without leaving lights on unnecessarily overnight.
- Install only fixtures with a damp or wet location UL rating in outdoor laundry spaces
- Use LED strip lights under upper cabinets for targeted task illumination on work surfaces
- Add a motion-activated overhead light to automatically illuminate the space on approach
- Install a weatherproof switch plate at the entry point of the laundry area for easy control
- Consider a smart plug or smart switch to automate lighting schedules and reduce energy waste
- Use warm white LED bulbs (2700–3000K) for a more comfortable and welcoming atmosphere
Conclusion
Designing an outdoor laundry room successfully requires thinking beyond aesthetics and appliance placement. Each of the eight mistakes covered here — from weather protection failures to inadequate lighting — can undermine the functionality, safety, and longevity of your outdoor laundry space. The good news is that all of them are entirely preventable with thoughtful planning upfront.

Take time to consult licensed professionals for electrical and plumbing work, choose materials and appliances rated for exterior environments, and design the space with both daily usability and long-term maintenance in mind. When done right, an outdoor laundry room becomes one of the most practical and satisfying home improvements you can make — a hardworking space that adds real value to your daily life and your property. Start smart, build it right, and enjoy the benefits for years to come.